Getting started with Notion as a Designer
Notion, is a constantly changing and improving product and probably is the best productivity tool out there after the spreadsheets! At some point in time, we’ve all struggled to maintain track of our sprint details, research, and design files in one place. As we’re all used to our own tools, it’s been tough to maintain consistency and transparency throughout the design teams, especially since the pandemic started.
Notion here will give us the advantage to keep all of our data in one place.
But getting started with Notion can be a challenge and might need some playing around with the tool! Most of the YouTube channels and tutorials start with databases which can be confusing. So first things first, let us understand the basics!

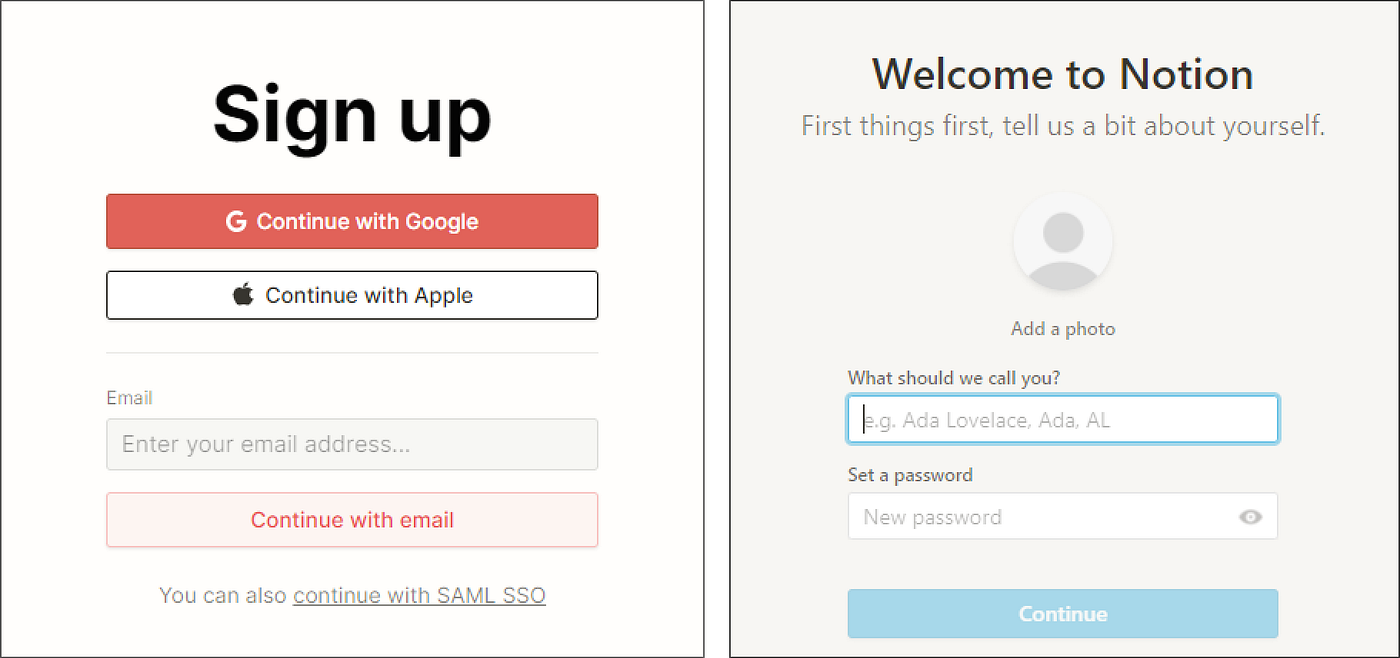
1. Create an account!
To create an account, you can simply go to Notion’s website and fill in the basic details as follows. The Notion has a web application as well as a desktop application. you can choose whatever you are comfortable with!
- Use Web Application
- Download the app (iOS and Android)
- Download the Desktop App (Mac and Windows)
- Install the Notion Web Clipper
Now that you have created an account, Notion will suggest “Templates” that can help you get started. But in my opinion, Templates are great once you have an idea of the basic building blocks.

2. Understand what are Page and Building Blocks
The main building blocks of Notion are pages. To create a page click on the “Add a page” button in the left navigation menu. A blank page will be created and you can see a menu with page types. You can click on any of them to turn your page into a table, board, etc. You can also import a template of your choice from Notion’s template library. Now give your page a title and then tada! You can start adding content now.

Now, use a “/” and a popup will appear to choose from a wide range of content types (text, to-do lists, Figma files, and even Spotify playlist!)

The page structure in Notion is hierarchical. Consider our desktop folders as an example. On our desktop, we can create folders within folders. Similarly in Notion, you can create pages within pages i.e. subpages.
To know more about pages watch this YouTube video.
3. Understand how to adjust blocks
Blocks in Notion can be moved around within your page and adjusted however you like! Click on the block you want to adjust and a 6 dot menu will appear holding which you can drag the block around the page and adjust accordingly.

To know more about adjusting a block watch this Youtube video.
4. Understand Tables
Tables in Notion are pretty amazing and can do everything like an excel sheet (and in my opinion much more than an excel sheet!). Notion allows you to have columns with different data types such as links, emails, numbers, checkboxes, tags(my fav **cries**), images, formulas, files, and much more.
To add a simple table to your page, type “/table database inline” to create a table within the same page.

Now here are the three fundamental things to understand about Notion’s table columns.
- Column name – This is nothing but a field name as per traditional database conventions.
- Property – The data type of a column. The data type of the first column in a Notion table will always be “Title” and the data type cannot be changed or deleted.
- Each row in a notion table is created as a page. So when you click on the first value of a row, it can be opened into another page
To know more about Notion’s tables watch this Youtube video.
5. Understand Views
Okay now that we know the basics of notion, we can start with views! YAY✨
Consider this example where you want to view your table of scheduled user interviews in a form of a calendar. You can create a calendar view with the following steps :
- Click the “Add a view” button beside your table name
- Name your view
- Select calendar from the dropdown and hit create.
Tadaaa✨ your calendar view for scheduled user interviews is now created.
There total of 6 types of views in Notion.
- Table (know more)
- Board (know more)
- Timeline (know more)
- Calendar (know more)
- List (know more)
- Gallery (know more)
6. Understand how to use Notion’s web clipper
Notion web clipper allows you to save any page on the web to your Notion workspace, and you can do this with just one click! Simply tap the Notion button in the top right of your browser if you see something you want to save. Choose exactly where you want to save your web pages and they will be automatically organized in your notion workspace.

Okay, Yay! Now that you have learned the basics, you can start experimenting around! It might be a little confusing at the start but I hope this article helps you. I have been using Notion for a year now and there is no going back! Personally, I use Notion to regularly track my finances, and maintain my weekly and daily to-do lists. Also, my portfolio is on Notion as well (**wink**) which I call “Notionfolio”, hahaha ✨
Below are some Notion templates that I use on a daily basis. You can easily duplicate these and add them to your workspace.
Thank you so much for reading! Feel free to reach out in case of any queries, suggestions, and feedback! I’d be happy to connect and talk with you!